
Designed and 3D printed detailed miniatures of projects from my co-op and capstone experiences.
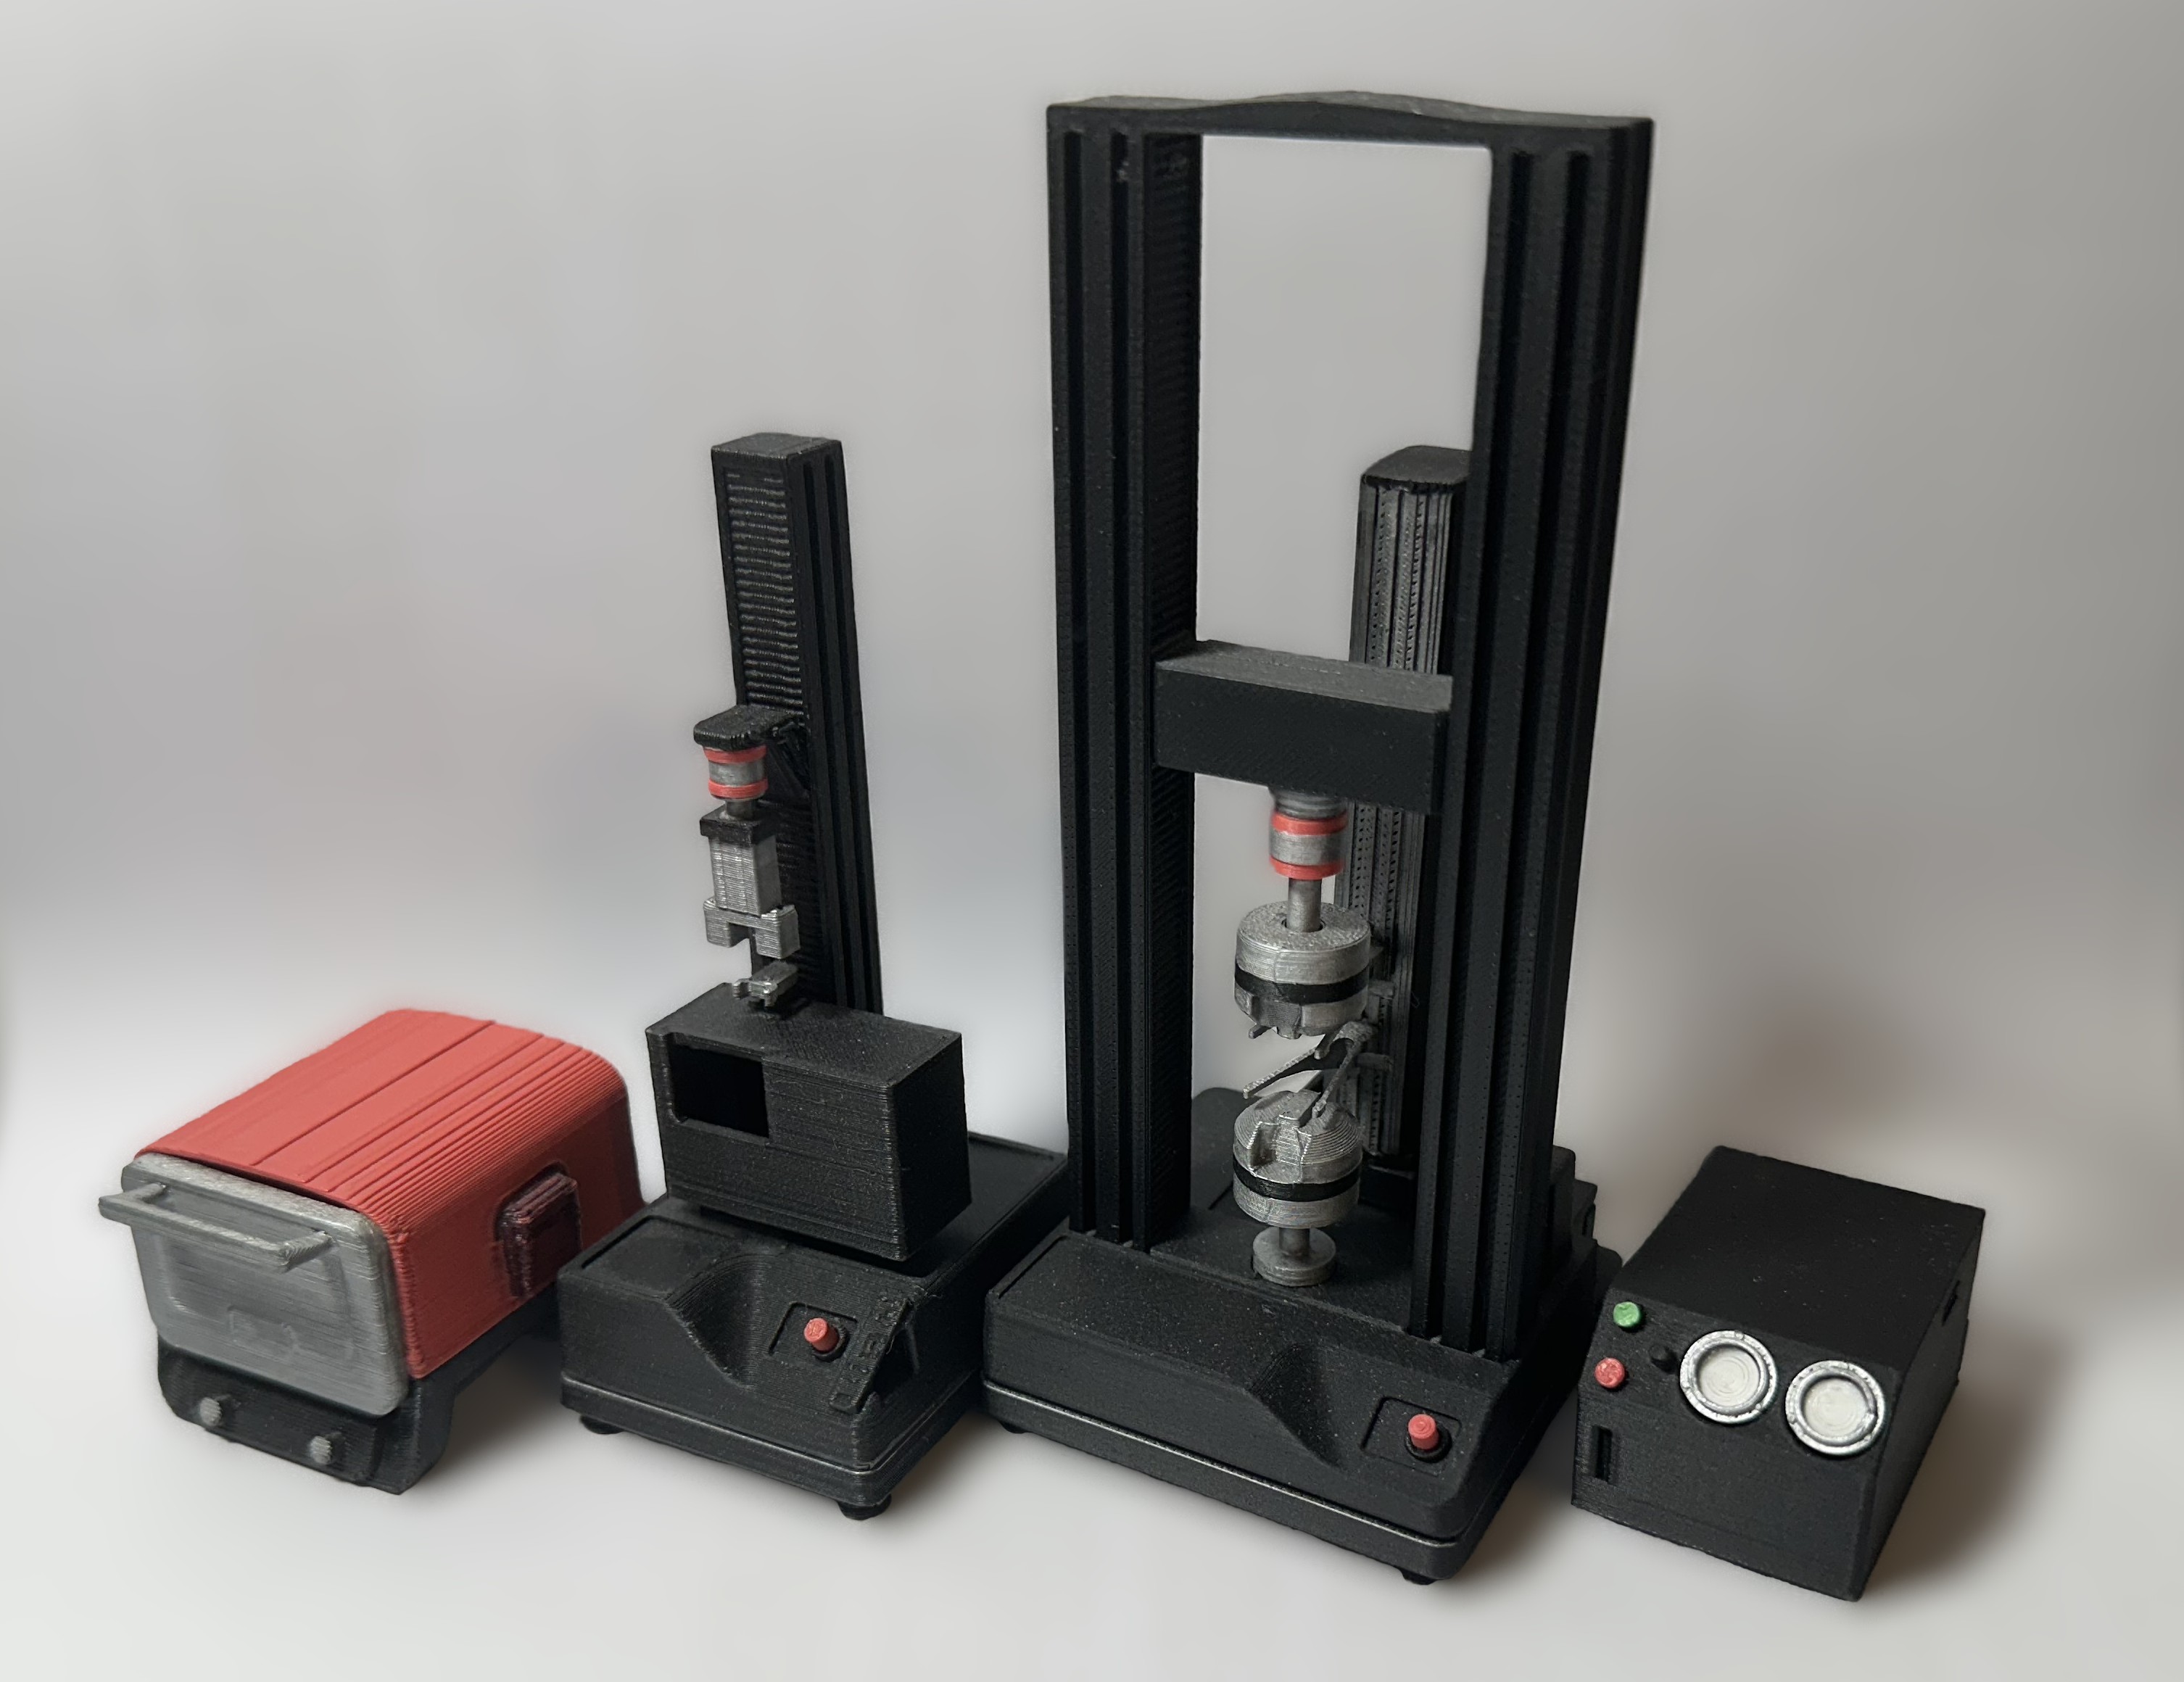
Miniature Instron testing machines, fully designed and 3D printed
Summary
I created miniatures of products I’ve worked on during my co-ops and my capstone project. While these models are great pieces of decoration, they also serve as exercises in CAD modeling, designing for additive manufacturing, and tolerancing.
Design Challenges
One of the biggest challenges when making a product miniature was needing to decide which details to keep, simplify, accentuate, or remove. Of course, you want the model to be recognizable, but a lot of the finer detail gets removed from the FDM 3D printing process. The often complex geometry of the product also posed an issue for printability.
Approach
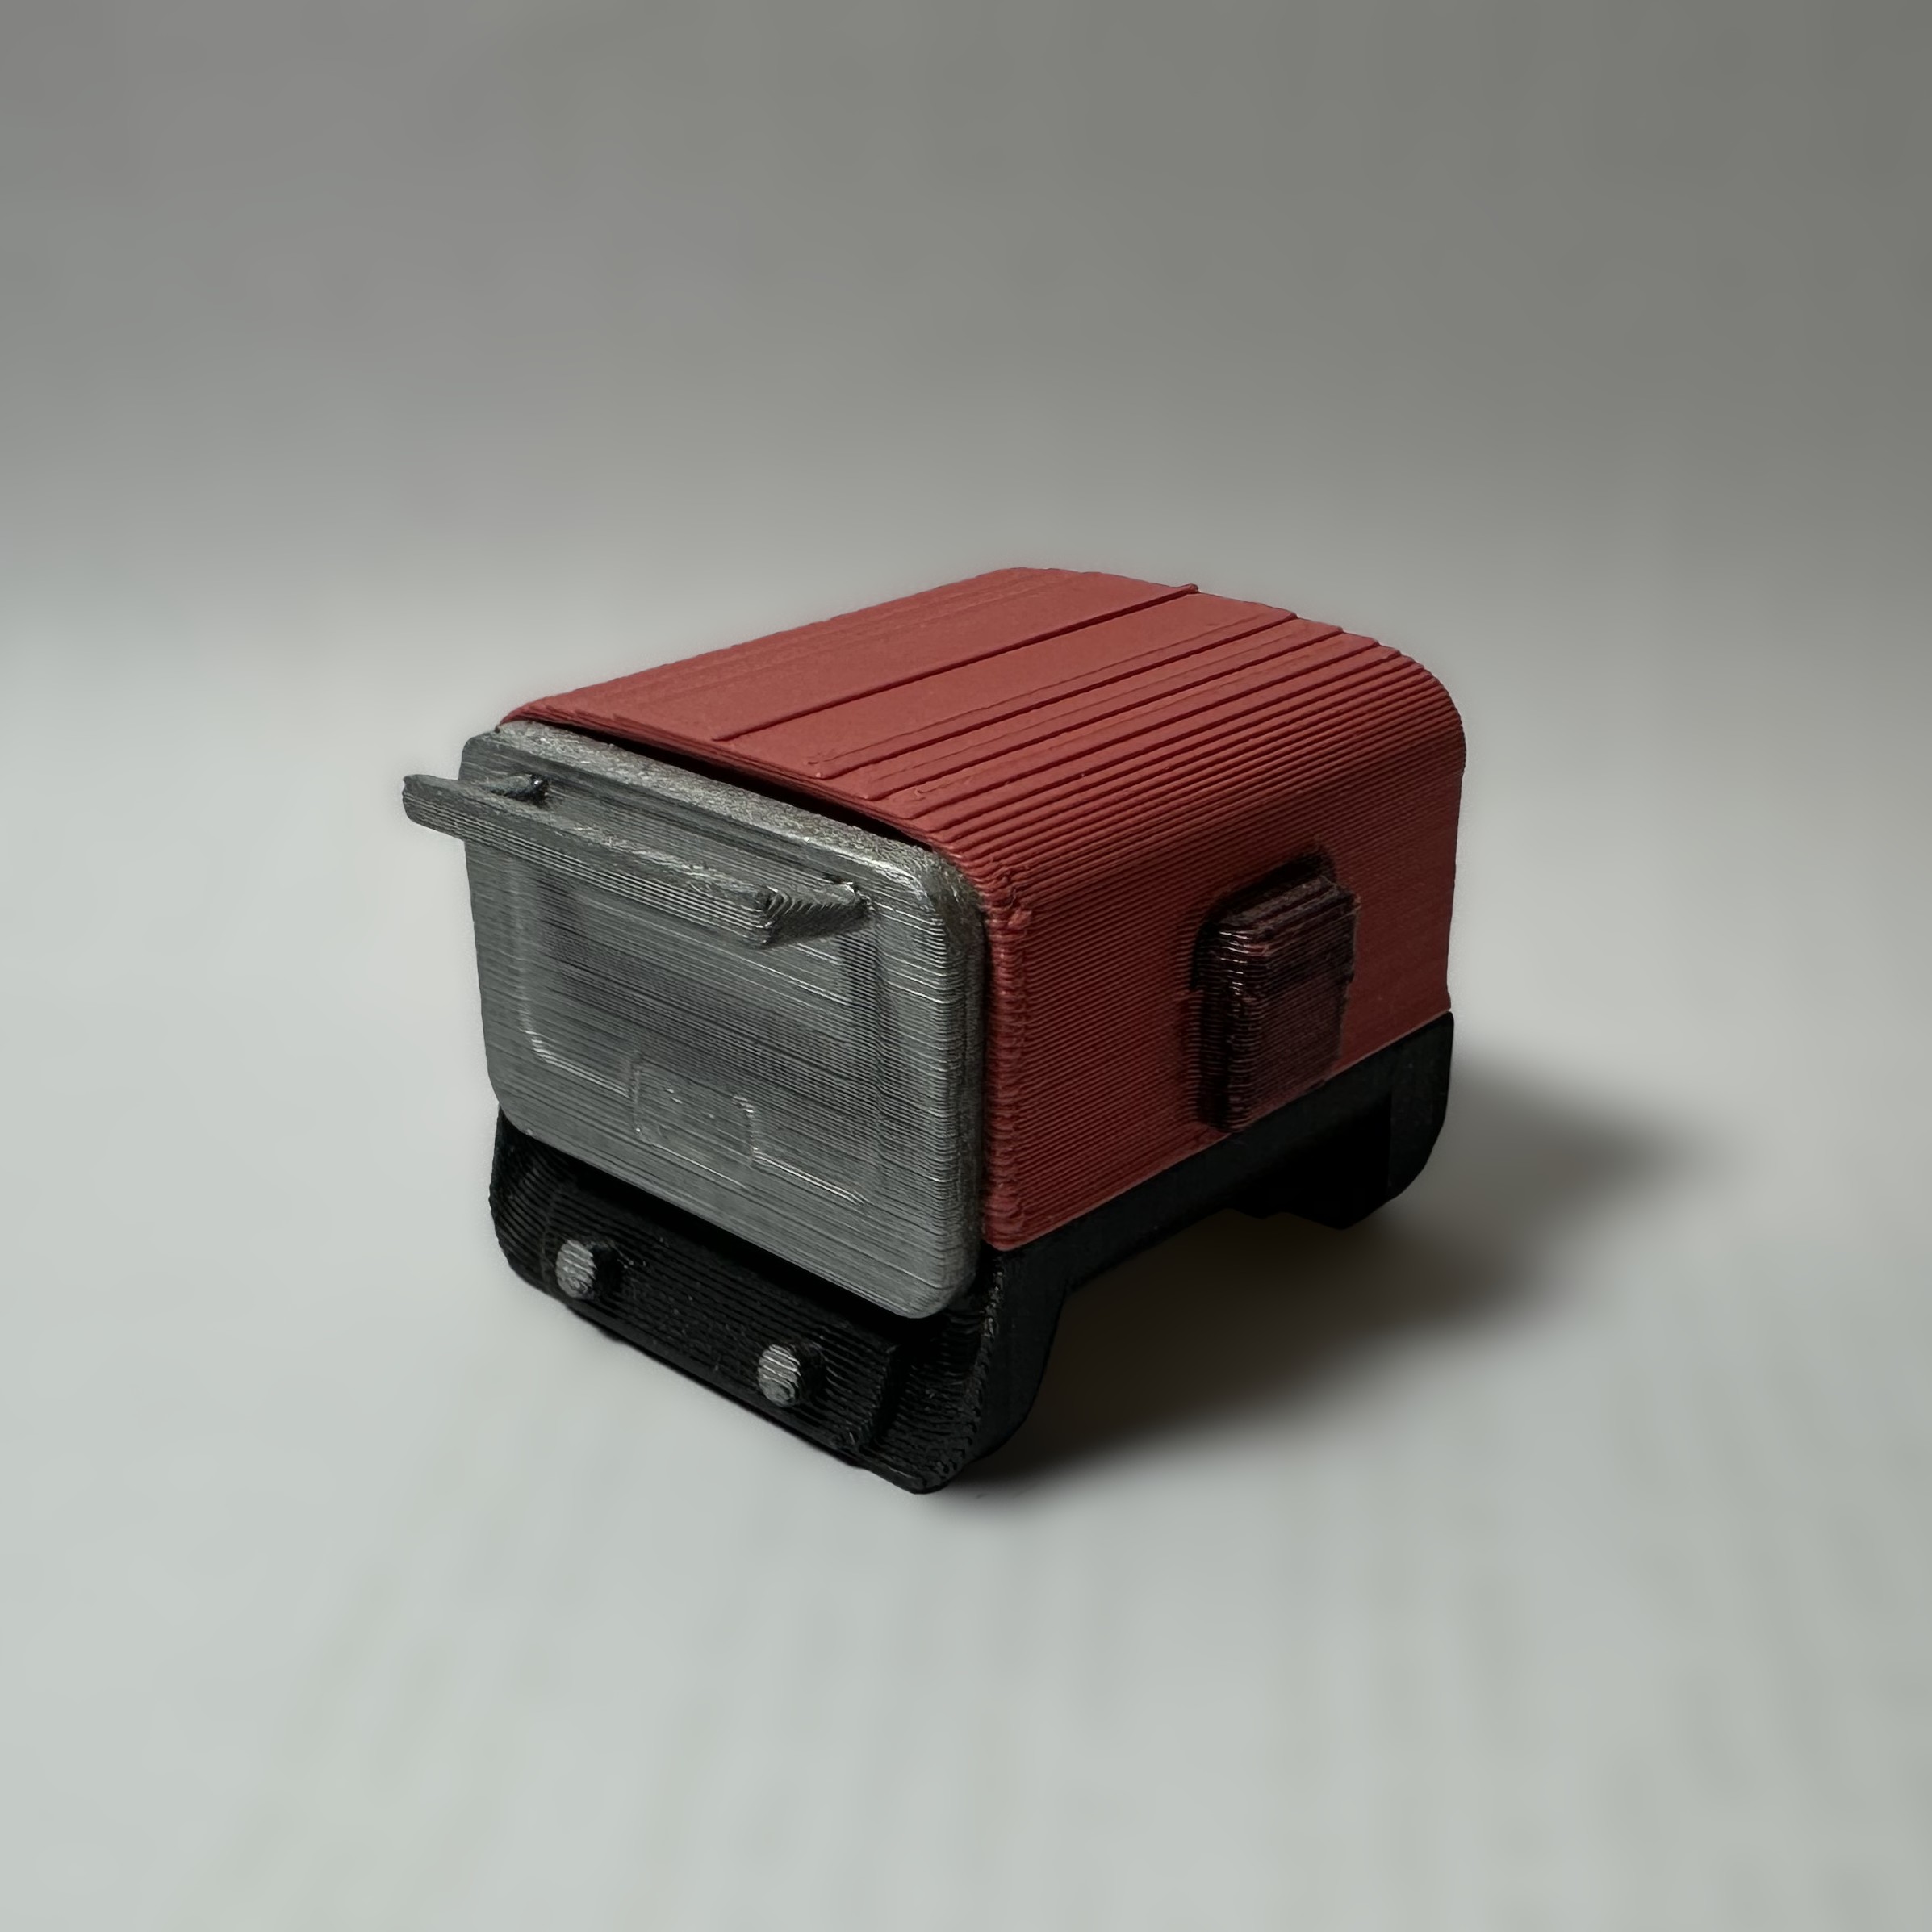
For a majority of the miniatures (all except the oven and multicooker), I recreated the products through photographs and my own memory. This was particularly useful for products that I had grown to be very familiar with, after working on them for a couple months.
At the beginning, I used the product’s CAD model to create the miniature. However, I found that this was often more time consuming, because the models would always contain small gaps that always had to be closed to create a solid model.
Each miniature was also designed with 3D printing in mind. Each model was split into several parts to minimize the use of supports for a cleaner look while also optimizing for strength when orientating the model on the build plate. In addition, the miniatures were multicolored, where different color filaments were used. This further required splitting the model into different pieces according to color. Although, some smaller details were colored using a paint pen.
This approach of splitting the model into several smaller pieces always required careful planning beforehand and a lot of test prints to ensure parts fit together. My most complicated miniature, the Instron dual column universal testing system (UTS) with the AutoX extensometer, has over 20 parts. This includes embedded magnets for the AutoX to be removeable - like the real deal.
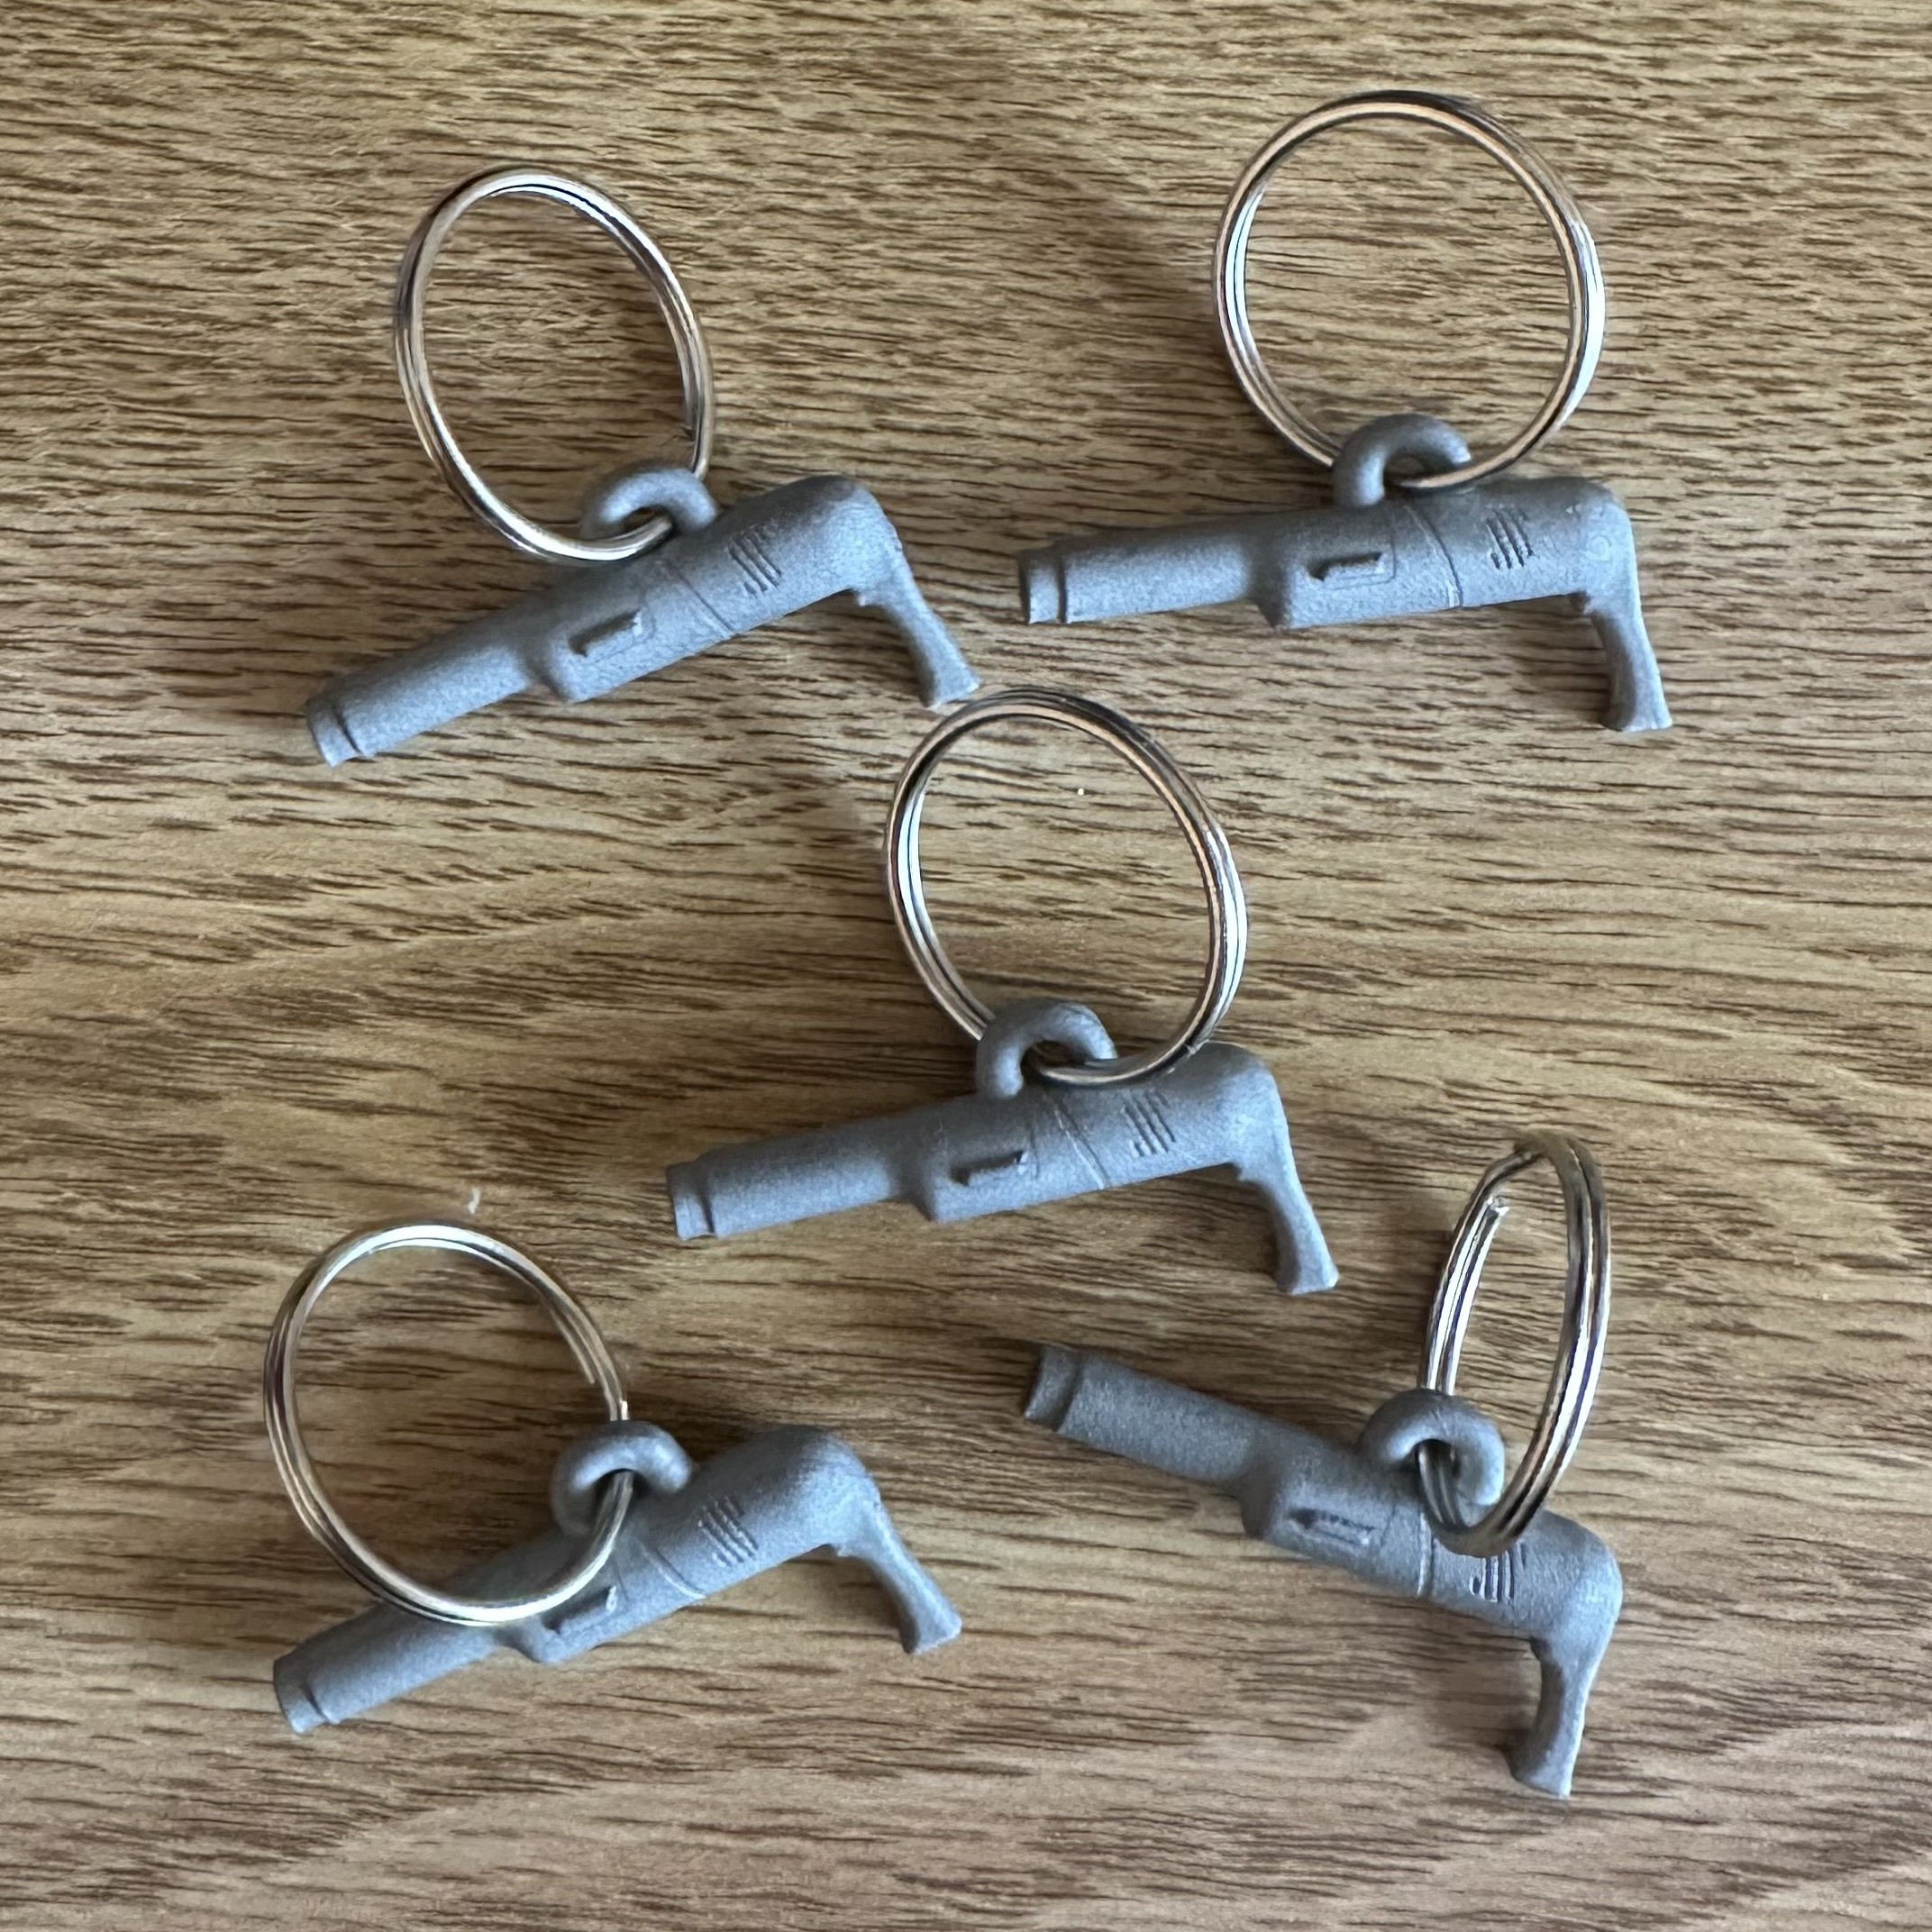
For my miniature of my capstone project, Critter Catcher, I decided to make these into keychains where I outsourced the manufacturing to produce them out of SLS 3D printed stainless steel.
Miniatures

SharkNinja Products
- Ninja Outdoor Oven
- Ninja Combi Multicooker
- Outdoor Oven accessories
Instron Machines
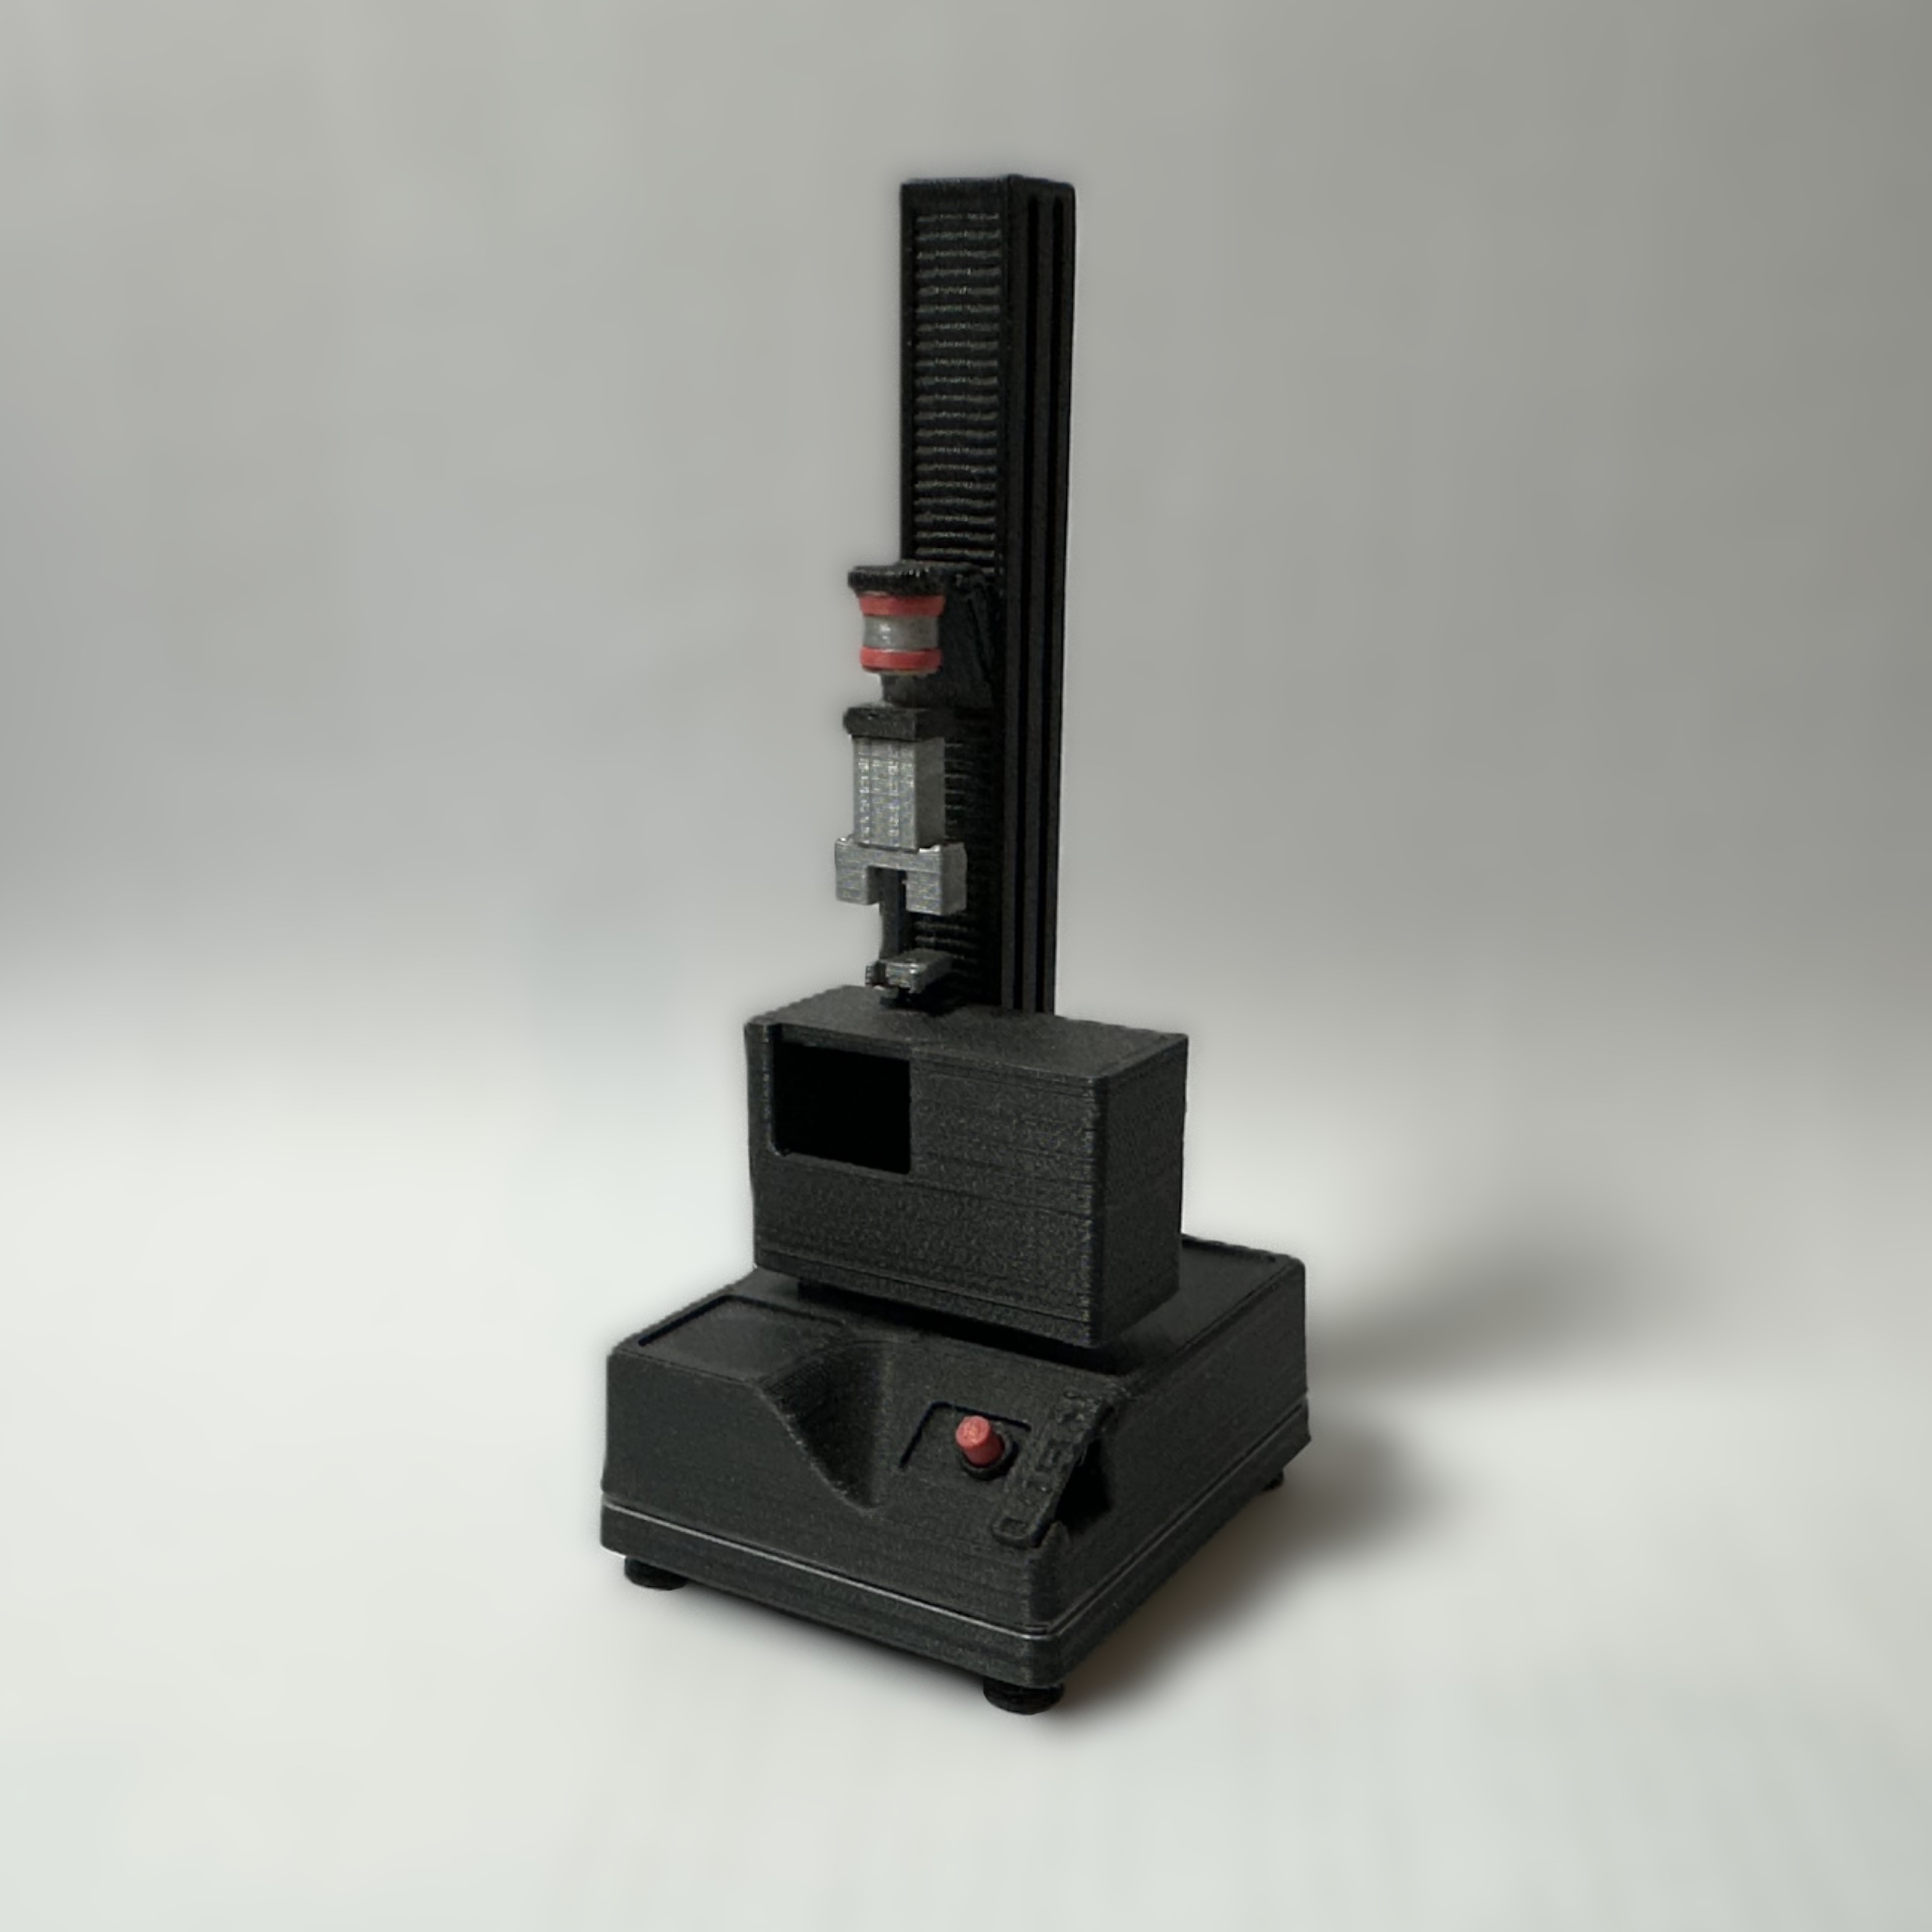
- Single Column UTS with Autoinjector Testing System
- Dual Column UTS with magnetically attached AutoX extensometer
- Dual Column hydraulics retrofit
Capstone Project
- Critter Catcher
Results
This ongoing project has produced a collection of miniatures from my co-op and capstone experiences. They serve as mementos that allow me to remember the different projects I’ve helped with over the years.
Skills Applied
- SolidWorks
- Design for Manufacturing
- 3D Printing and Post-processing